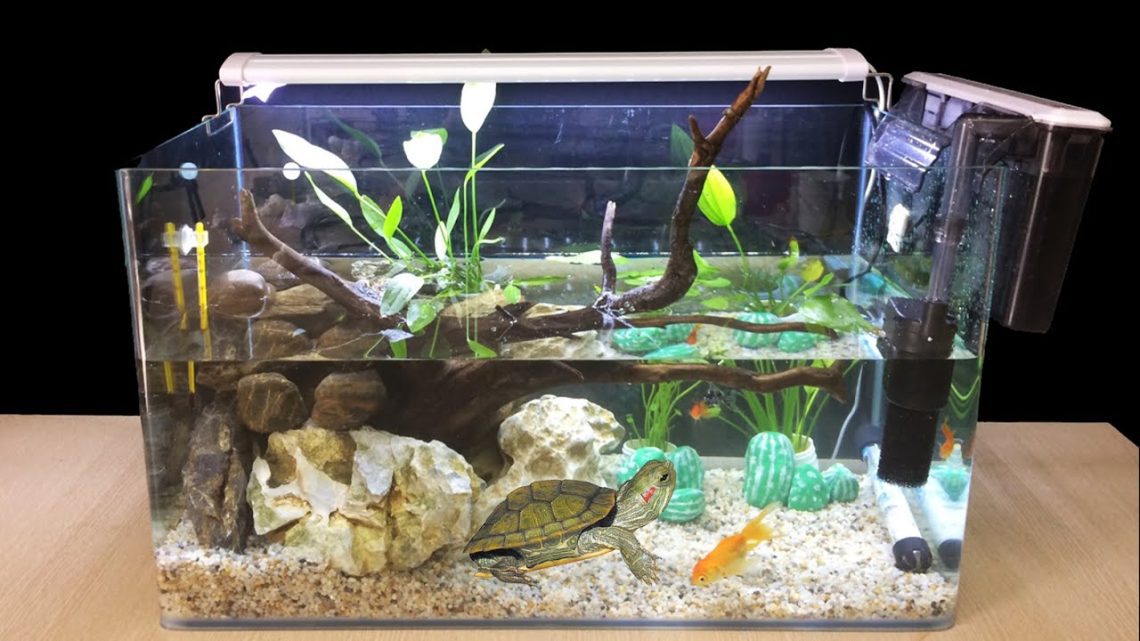
Do-it-yourself aquarium made of glass and plexiglass: how to make it at home for turtles (including red-eared), fish and fry
The easiest way to provide your pets with a habitat is to purchase an aquarium from the store. But it will be much more interesting and cheaper to make an aquarium with your own hands. In addition, situations sometimes occur when it is not possible to purchase an aquarium nearby, and transporting it over long distances is inconvenient and not entirely safe. In this case, skills in self-manufacturing a house for aquatic inhabitants can help you.
Contents
Materials for manufacturing
First of all, you will need glass and adhesive material
First of all, it is worth noting that the main components for making an aquarium are, in fact, the glass itself and the adhesive to hold the pieces of glass together..
In addition, the following materials may be needed in the manufacture:
- Glue dispenser (in the form of a gun);
- Masking tape;
- Measuring device (tape or ruler);
- Sponge (preferably have a few on hand);
- Rag without lint and made of natural fabric;
- Glass cutting saw.
All these components can help in the manufacture of an aquarium and make your work easier.
Glass selection
When choosing glass, first of all pay attention to the thickness
The first and main parameter in choosing glass is its thickness. All items inside the finished aquarium, as well as water, will exert a certain pressure on the walls, so the thickness of the selected glass directly depends on the size of the future aquarium.
If you decide to build an aquarium measuring 50×30 cm, it would be correct to choose glass with a thickness of at least 5 mm, preferably about 8 mm. If the aquarium area is even larger, for example, 100×60 cm, the glass thickness should be at least 10 mm. When trying to make an aquarium from plexiglass, the parameters are the same.
It is advisable to choose glass M1, it should not contain impurities or bubbles. Typically, this type of glass is used in the manufacture of showcases.
Selection of glue
You won’t miss the moment here
The next preparatory step can be called the choice of glue. The usual “Moment” here will be inappropriate, it is toxic and leaky. Silicone glue is perfect for building a glass structure.
When choosing, it is worth considering the complete tightness of the adhesive, as well as its color.. The first is decided by the choice of a suitable sealant with waterproof properties, and the second point depends on your taste preferences, since you can choose a transparent sealant, or you can give preference to black. If this is your first time building an aquarium, it is better to give preference to the colorless version, since flaws will not be visible when using it. Black is more suitable for more experienced craftsmen and those who intend to build a large aquarium.
The next item will be to study the instructions for the sealant. Not every silicone adhesive will be suitable for making an aquarium. Some of them may contain antifungal substances that are useful in other situations, but detrimental to fish and other aquarium animals.
Among the aquarium silicone, the following brands can be distinguished:
- Dow Corning 911 is one of the most popular sealants;
- Tytan – good in its properties, but has an unpleasant odor;
- Chemlux 9013 is another good option.
Not only the strength of the finished product and the ease of its manufacture, but also the life expectancy of your pets depend on the correct choice of sealant.
How to choose a shape for an aquarium
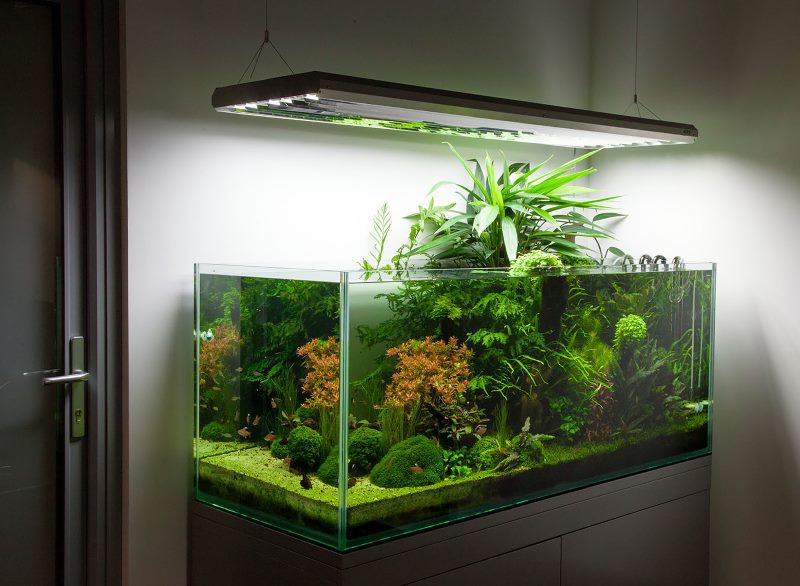
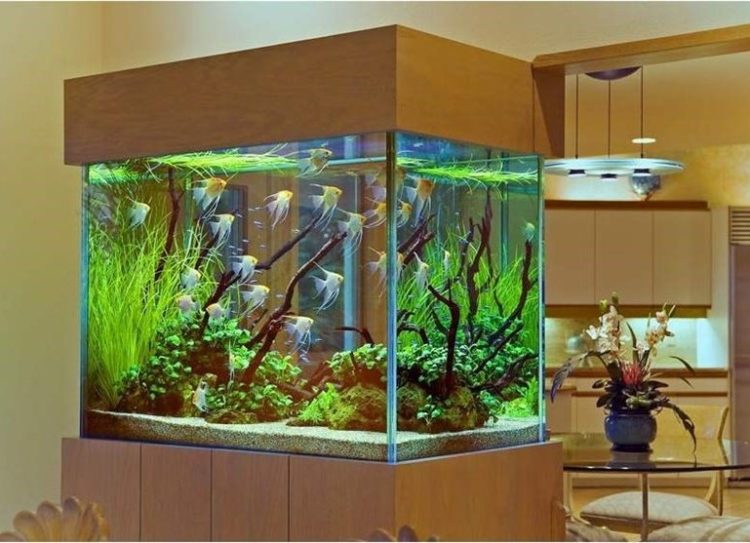
For beginners, it is better to stay on a rectangle or a cube.
Among the forms of aquariums are:
- Round – a beautiful and aesthetically suitable option for many types of interior, but it is impossible to make it at home, since for this you will need the skill of a glassblower and a suitable room and equipment for this;
- Rectangular – the easiest option to manufacture, suitable for beginners;
- In the form of a cube – another simple option for those who are limited in space for setting up an aquarium;
- Corner – a more complex option, suitable for craftsmen with experience in working with glass;
- Panoramic – also require skills in manufacturing.
For beginners or those who want to build a simple version of the aquarium, rectangular and cubic shapes are great.. In other cases, it is worth being guided by personal preferences and capabilities.
Required Tools
To make an aquarium, you will need the following tools:
- Painting tape;
- grindstone;
- scraper and blade for it;
- cloths for cleaning;
- sponges;
- cleaning wipes;
- degreaser (acetone, alcohol);
- scissors;
- stationery knife;
- glass cutting file;
- paper;
- syringe;
- towel.
Stages of making an aquarium
When all the tools and materials are ready for manufacture, it is worth choosing a place where the entire process of assembling the aquarium will take place. This may be a spacious room with an equipped table or another prepared room with the possibility of placing all materials and tools.
Glass preparation
When preparing the glass, make sure the surface is as smooth as possible.
This stage may include both self-cutting of glass and the use of ready-made cut blanks from the workshop. In any case, each edge of the glass fragment must have a non-traumatic smooth surface; a grindstone is useful for this. Glass must be placed on the bottom of the bath with a small amount of water and a towel or piece of cloth laid in advance. The grindstone must be wetted and the edges of the glass blanks treated with it.
Next, the blanks are removed from the bath and wiped with a dry cloth.
Glass location
On a pre-prepared solid place, the workpieces are stacked in accordance with their future location. To do this, you will need a spacious place where all the fragments will fit next to each other. It is better to cover the working surface with newspapers or cloth.
Surface cleaning
White spirit is great for cleaning glass surfaces.
All glass fragments should be well treated with acetone or alcohol. This is especially true of the ribs, on which the sealant will subsequently be applied.
Applying masking tape
To ensure clean work with sealant, it is advisable to apply masking tape along the edges of the glass, which will provide protection from excessive contamination of the glass with glue.
Application of silicone and installation of walls
First, place the bottom of the future aquarium on the work surface. Treat the end of the front wall with silicone and place it on the bottom of the aquarium. If the glass is not thick, it is better to use a nozzle that does not come with a sealant, but a syringe.
When setting the parts, do not apply too much force – the silicone may spread, and its layer will be too thin for reliable adhesion of the surfaces. Further, it is desirable to fix the glued fragment with any suitable support until the sealant is completely dry. The first glass is usually very unstable, so it should be attached carefully, using some support or additional help. If excess silicone has come out, do not immediately wipe it off – after drying, they can be easily removed with a knife or blade.
The rest of the aquarium is attached according to the same principle.
Completion of installation
Remove the masking tape, leave the design for a day to dry.
If required, after a day of waiting, the aquarium can be strengthened with stiffeners. This is usually done for large aquariums, but there is nothing wrong with reinforcing a small structure. After installing the ribs, it is worth leaving the aquarium for another day to dry.
Final step and verification
Now only the final check remains.
After waiting for time to dry, you can align the seams. Carefully remove the remaining sealant with a knife. Next, move the aquarium to a bathroom or other place that is safe from possible leaks. Fill the structure with water and check for leaks. This should be done within a few hours, as some flaws will not be immediately noticeable. If there are no leaks, it means that the work was done perfectly, and the aquarium is ready for use.
Cover making
Plastic is the material of choice for aquarium lids.
The cover for the aquarium can be made of plastic, silicate glass or plexiglass. Much of the choice of material for the cover depends on the size of the aquarium itself. So, for a small aquarium, plastic is suitable. But there is one nuance in the use of the material – it should not be placed on top of the glass, for this you should make the sides of the same plastic, fastening them with special glue for plastic or resin. Corners can be reinforced with metal corners.
Useful in the device cover and PVC cable channel. It contains grooves into which walls or sides should be inserted. For this reason, the cable channel is selected based on the dimensions of the glass. Joints are sealed with sealant.
Loops can be attached to the back for easy removal of the cover. They are glued or attached with a bolt solder.
A hole can be made in the plastic lid to make it easier to lift the lid and feed the fish. If the plastic is too thin and flexes, it can be reinforced with an aluminum corner. You can also attach aquarium lighting to it.
For convenient penetration into the aquarium of the necessary wires and hoses, holes are made on the sides of the rim at the stage of gluing the structure with a drill.
The choice of lighting should be approached more carefully. It will directly depend on what species of fish and other living creatures you are going to settle in this aquarium. Do not use incandescent tungsten filament lamps, as they can heat up the water, which is not particularly useful for fish.
In addition, the bulbs should be located under a special protective glass.
Features of the arrangement of aquariums
For fish
Fish in an aquarium primarily need lighting and carbon dioxide.
To equip an aquarium for fish, you will need proper lighting, the addition of carbon dioxide and mineral salts..
Often, fluorescent lamps with maximum radiation in the red and blue regions are used for proper lighting. They are closest in terms of indicators to the solar spectrum. The number of lamps will have to be calculated experimentally. In addition, there are several rules for ensuring proper lighting:
- Lamps need to be replaced every year and washed and cleaned more frequently as their light can dim due to dirt;
- The number of lamps is selected based on 1W per 1 m3 water;
- In tall aquariums, the light may not reach the bottom in the right amount.
For turtles
Turtles in an aquarium require at least a small island of land
The volume of the aquarium for the turtle should be about 150 liters. for an adult. In this case, the water should reach a depth of 40 cm, if the individual is large.
The lid of the aquarium should be equipped with holes so that the turtle can breathe air.
It is desirable to keep the temperature at an indicator of 22-28 degrees.
For filling, you can use ordinary running water, but infused.
An ultraviolet lamp can be used to illuminate the pond.
For the normal life of a turtle, it is imperative to equip a kind of land on which it can bask. It can be built from pebbles sealed with sealant, but in no case from wood, as this will provoke the breeding of parasites. Lighting should also be on land – so the turtle will dry out, and the parasites on its body will die.
For crayfish
Crayfish in an aquarium need a nook
The volume of the aquarium must exceed 250 liters. The walls of the container must be made of strong plastic. It is better to give preference to a product with low (up to 1m) walls and a wide bottom. This makes it easier to care for crayfish and keep the bottom of the aquarium clean.
The aquarium should be covered with a net to prevent the most active individuals from escaping. The bottom can be equipped with stones, sand, snags, in which there should be hollow holes for sheltering crayfish. When keeping freshwater crayfish, it is most important to create a secluded area for them from decorative objects, as some specimens react aggressively to constant encounters with other inhabitants of the aquarium..
Two weeks before placing the crayfish, the aquarium is filled with water, and plants are planted if desired.
Features of creating an aquarium from plexiglass and differences from the design of ordinary glass
The differences between plexiglass and ordinary glass are as follows:
- The material is strong and hard to break;
- It is safe to use and does not crumble into small sharp fragments in case of breakage;
- From it you can make aquariums of various designs;
- Plexiglas is transparent and does not distort colors, but is still less transparent than ordinary glass;
- Light weight of the material (2–2,5 times lighter than ordinary glass);
- Holes can be made in the plexiglass wall;
- Easily scratched;
- Cannot be heated
- Plexiglas can be stained when using disinfectants;
- The walls may bulge a little from the pressure of the water.
As you can see, there are not so many shortcomings, and all of them are fixable. Scratches can be easily polished, swelling can be avoided by properly building the aquarium and choosing the right wall thickness, and heating is completely contraindicated for living creatures in the aquarium, so no one will expose it to high temperatures.
Video: Methods for gluing aquarium glasses
With the right approach to building an aquarium, you can design it yourself without unnecessary costs and problems. It is important to choose the right materials, design and shape that are suitable specifically for your needs, as well as auxiliary tools and objects, and then making an aquarium will turn into an interesting and useful pastime.


