DIY chinchilla cage – step by step instructions with drawings and photos

Finding the right size chinchilla cage can be tricky. Such a purchase also often becomes a significant blow to the family budget. The best choice would be a do-it-yourself chinchilla cage – step-by-step instructions will help you cope with its manufacture even without much experience in carpentry.

Contents
Cell design selection
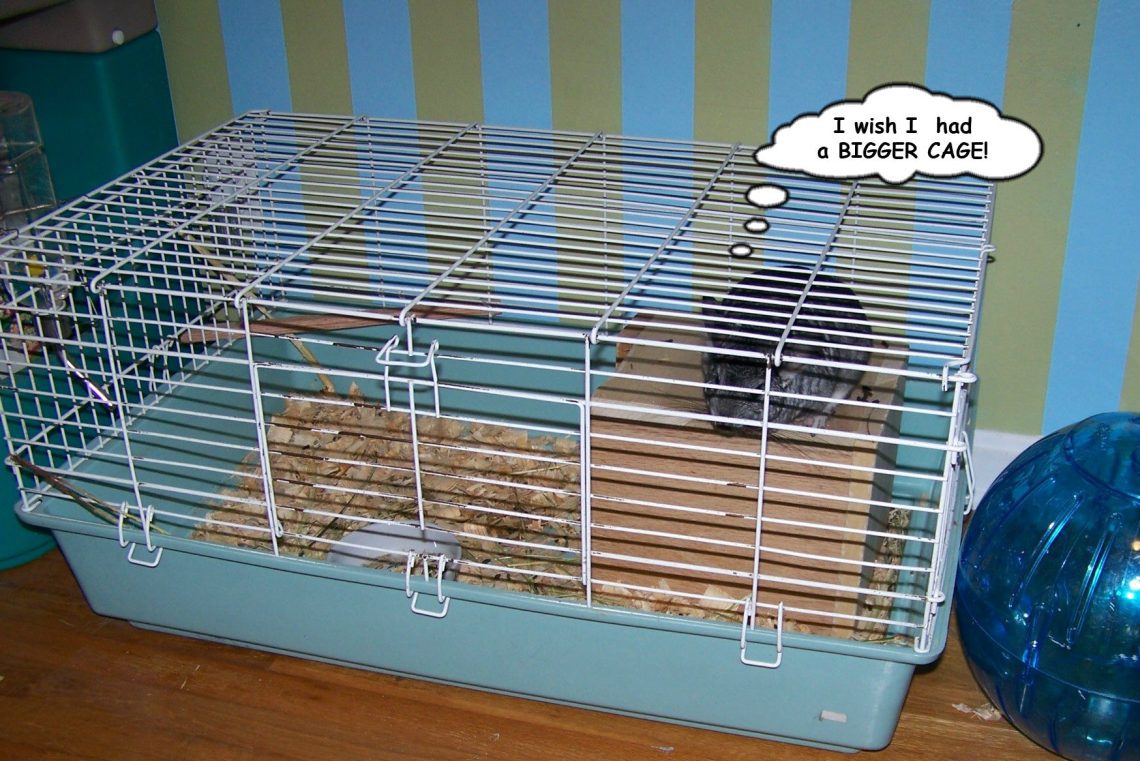
Before taking on the drawings, you need to decide on the type of future design. Chinchillas are mobile animals that need a lot of space. The minimum cage size for one animal is 75x35x50cm. Remember that chinchillas cannot be kept alone, and the more animals, the larger the size of the product should be. It is also important to allocate enough space for the play area – these rodents love to jump, climb to heights, run on a wheel.

If you plan to keep chinchillas in a private house, you can build a real home aviary. Furry animals are also good at climbing and climbing, so they will feel great in tall devices with shelves. If there is not enough space in the apartment, it is recommended to choose a vertical structure with several floors:
On the Internet you can see a lot of photos of homemade cages and homemade showcases for chinchillas. Complex projects with interesting transitions and shelves can inspire work, but with a little experience it is better to choose a simple design. If necessary, in the future, the basic frame can be easily built on, complicating the cell structure.

Materials and Tools

To make a cage for a pet yourself, you first need to purchase everything you need for work. Materials for construction should be safe, natural wood is best. You can make a strong frame from bars, edged boards, lining, you will also need boards for shelves. Wood species such as birch or pine are easy to process and are inexpensive. You can also use chipboard or plywood for manufacturing.
To tighten holes and windows, you need a metal mesh with small cells (about 2-2,5 cm). You can use ready-made metal sections with rods, or weld them yourself from wire. It is better to choose galvanized or high-quality painted metal. Corrosion protection will extend the service life of the product, allow cleaning with household chemicals.
IMPORTANT: In the absence of funds to make a cage from scratch, you can reuse old unnecessary furniture – bedside tables, shelves, cabinets. It is enough to tighten the doors with a mesh and cut holes in the shelves for ladders. This design is very convenient and will cost almost free.

To work, you will also need a set of conventional woodworking tools:
- hacksaw;
- electric jigsaw;
- a hammer;
- drill and drill bits for wood;
- stationery knife, marker;
- scissors for metal;
- ruler, building level.
It is important to take care of the fittings – so that the doors are securely locked, it is better to purchase ready-made locks in a furniture store. There you can also find guides for drawers and drawers, hinges and handles for doors, wheels for attaching to the bottom.
How to make a chinchilla cage with your own hands
After all the materials are purchased, you can begin to manufacture the structure. To make a cage at home, prepare a comfortable place to work in advance. The manufacturing steps are performed in the following order:
- According to the measurements taken, a drawing is made. Check the calculations well before cutting out the details.
- From strong bars, in accordance with the dimensions of the drawing, a rectangular base is made. From above it is sheathed with clapboard in one layer or a sheet of thick plywood is laid.
- If the installation of a removable pallet is not provided, the base must be treated with silicone sealant. This will protect the wood from absorbing liquids and odors.
- The frame is built up from vertical bars. They are attached at the corners of the base with self-tapping screws or long nails.
- The top of the frame is made of bars of the appropriate length. For the stability of the structure, you can also make several crossbars along the height of the walls. On them in the future, you can mount shelves.
- The walls and roof are tightened with a strong metal mesh using wide-head self-tapping screws. To prevent animals from getting hurt when trying to gnaw on the sharp edges of the net, it is necessary to put a metal profile at the attachment point.
- It is best to make several doors on different sides of the structure and a removable roof – this will facilitate cleaning. Frames are made of lining, doors are fastened to metal hinges for bedside tables.
- Shelves are installed – it is better to choose solid ones, with hatches for ladders. So chinchillas will be able to move freely from one floor to another, and shelters and toys can be placed on the shelves themselves.
- The back wall of the cage is usually covered with a solid sheet of chipboard or plywood. You can also close one of the side walls to protect the animals from drafts.

The structure must be raised to a level of at least 50 cm from the floor – this is necessary to protect heat-loving animals from the cold. To do this, you can either install strong legs from a bar or assemble a cabinet-stand. Additional space below is convenient to use for storing sawdust, feed, and other accessories for keeping chinchillas.
After completion of work, a home-made cage is treated with special protective impregnations. Outside, the frame can be painted or varnished, but inside the walls are treated only with antibacterial and moisture-proof solutions that are safe for animals. You can buy them at a hardware store – you should choose products without a strong odor.
Video: how to make a do-it-yourself chinchilla cage
How to make a chinchilla cage with your own hands at home
3.5 (70.48%) 42 votes


You May Also Like

Is it possible for chinchillas to eat raw, fried, pumpkin and other seeds

Can guinea pigs eat black or white bread?