Tips for Beginner Riders: Cantering
Tips for Beginner Riders: Cantering
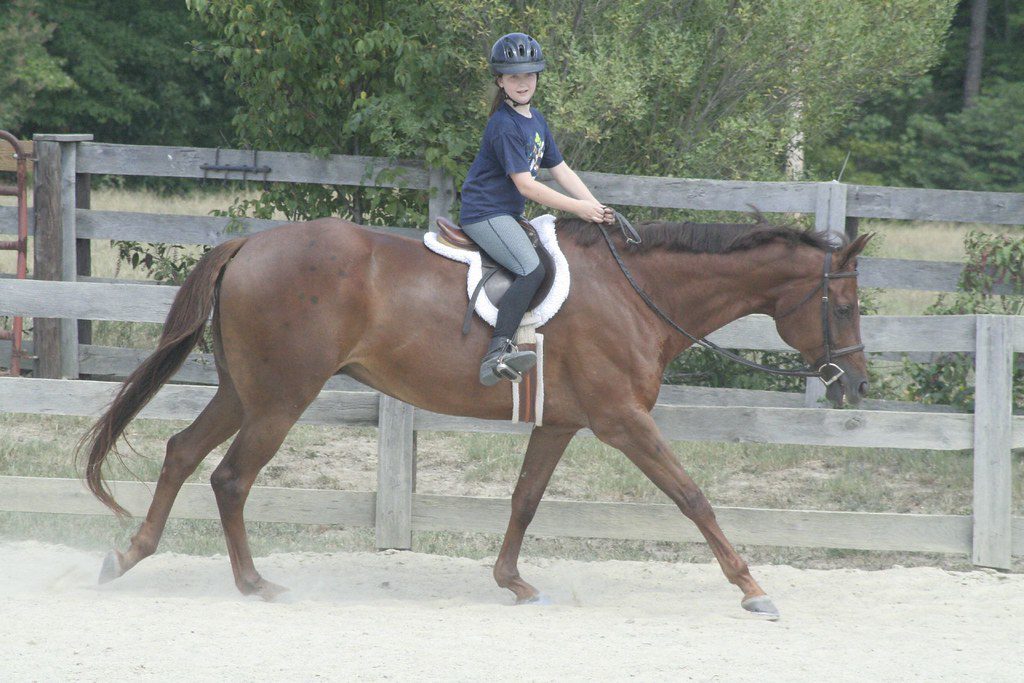
Watching any horse during a canter, you will notice how his nose goes down every third beat of every pace; this is especially true on the first pace when she pushes her whole body off the ground. It is extremely important that the rider come forward and lower his hands down at the moment when the horse rises into a gallop, so that he does not hit him in the teeth with a snaffle, in fact, punishing the horse for what he himself asked to do.
Unfortunately, it is at this point that insecure riders or riders with little experience in cantering instinctively begin to hold their breath and raise their arms as if they are stopping a horse. If the rider does this when the horse drops his nose, he hits him in the “teeth” twice as hard. And this is the sad fate of many horses. That is why I do not allow my students to canter until they have reached the right level of training, confidence and understanding.
Fortunately, any rider can be taught how to properly canter.
I’m not the type to force riders to run gallop minutes/hours until they’re really ready. There is an old saying that comes from the masters of the classical school: “The best way to improve the canter is to improve the trot.” It is necessary to work out the trot, the control of the horse, the landing, and then the time will come to be ready for the canter. Do not hurry!
With those who want and are ready to make a “jump” to the canter, we work through the most important thing – thoroughly disassemble the controls at a gallop.
Over the years of practice, I have noticed that not every rider develops the correct idea of what he should do during the rise. Therefore, we work out the lifts in the arena. Riders perform them in “easy conditions” by making transitions in certain places where it is easiest for the horse to get into a canter and do it from the right foot. I choose to move along long straight paths and use the “gravity of the exit from the stable”: when we need to extend the canter, we go to the exit, when we slow down – away from it.
Riders who are just learning to canter often run into problems after 4-5 strides, especially before the turn (they get stuck). In such cases, we work in straight short distances and do reprises of a calm trot in between the canter.
Riders learning to canter often unintentionally pull on the reins in a turn, causing the horse to tug on it and go into an uncomfortable trot, kicking the rider off the saddle and struggling for balance.
It is better to move in straight lines and for short distances. Have the rider do 4-6 paces, then bring the horse into a slow training trot (instead of starting to hop over the saddle in the turn), ride the difficult section and then lift the horse into a gallop in a convenient place.
Once progress has been made, the next step is to move forward and canter into the turn without switching to a trot. In the meantime, while working on the trot-canter-trot transitions, the rider is perfecting his controls and mastering the canter rises, which is in line with another great wisdom of the classical riding school: “all learning is in transitions.”
Julie Goodnight (source); translation Valeria Smirnova.


