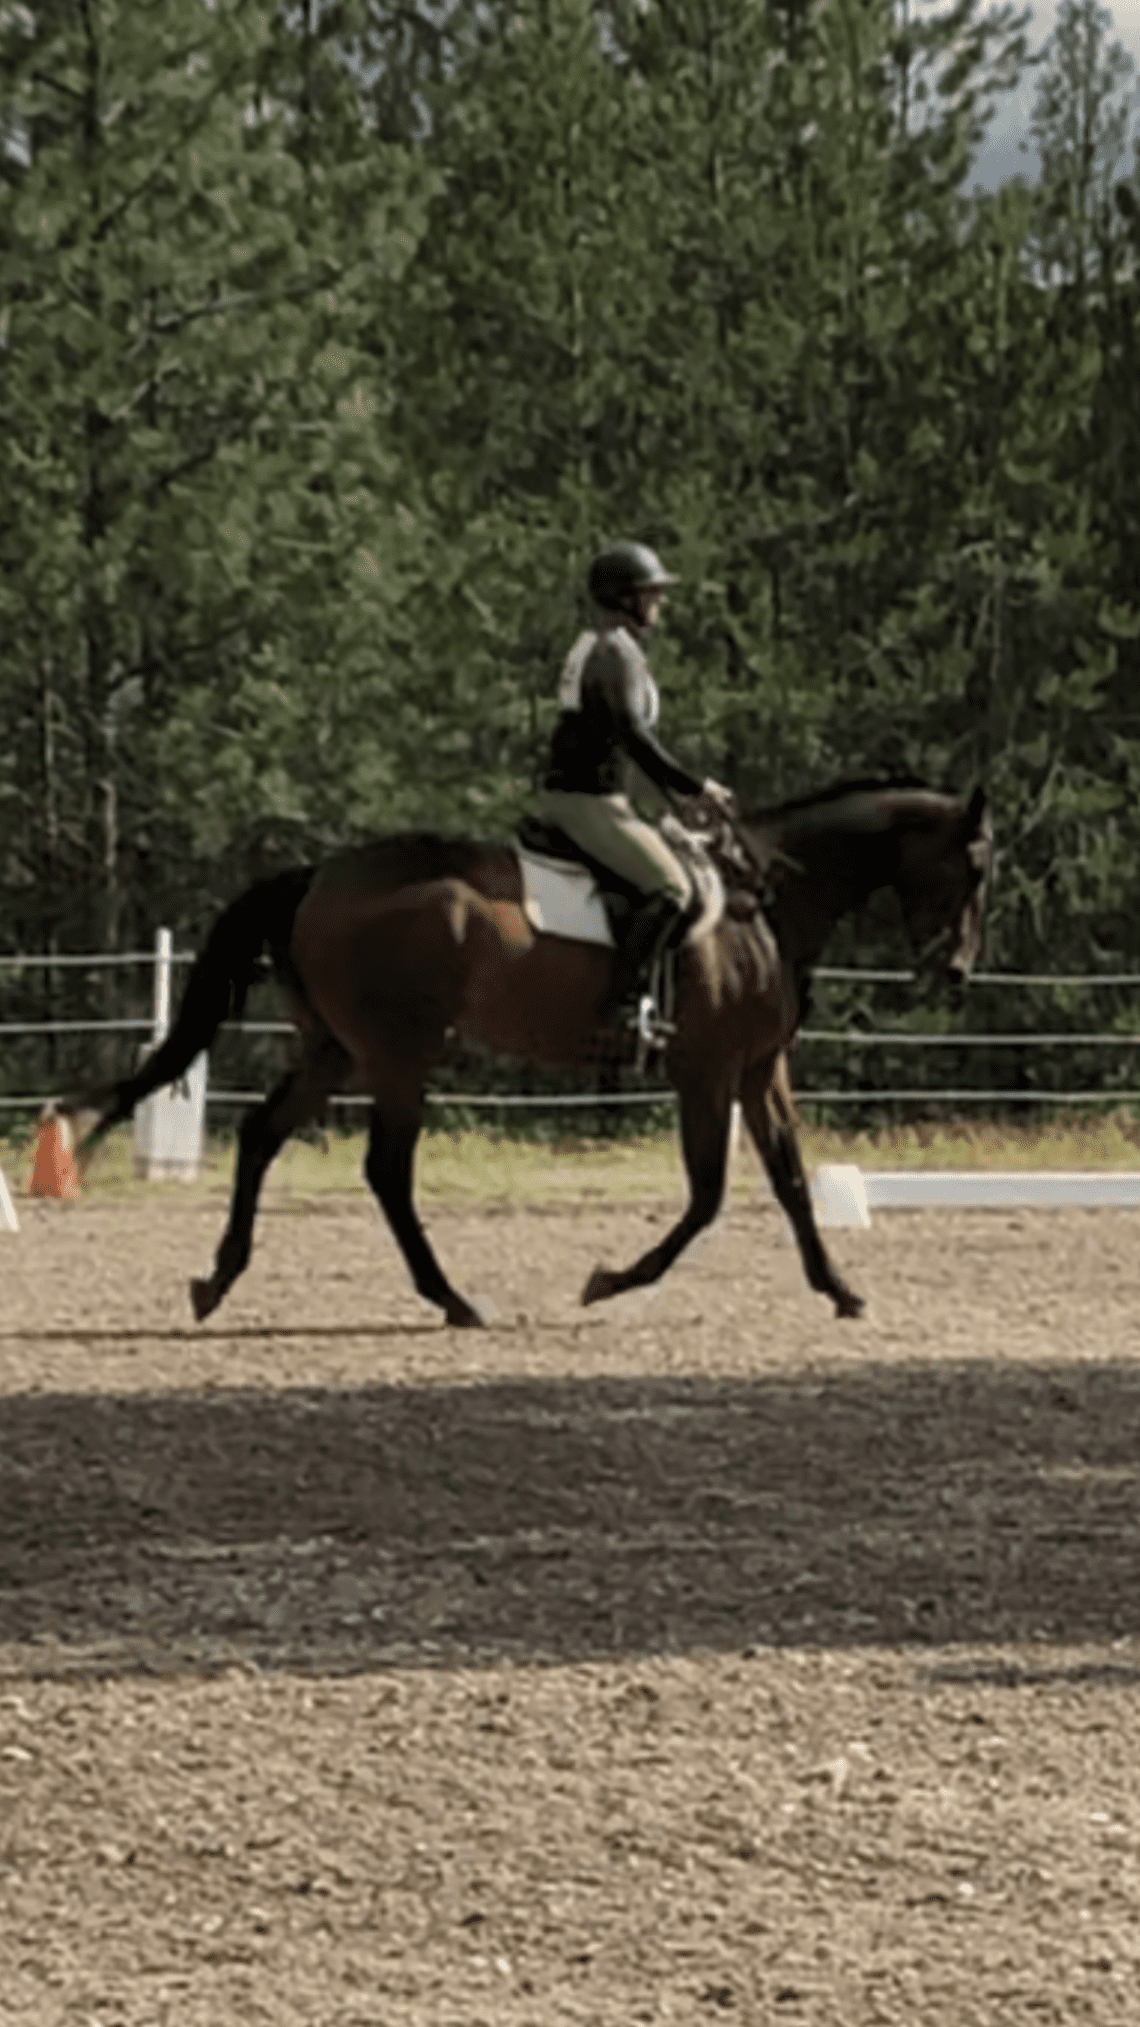
The subtleties of the posting trot – how to simplify the process of training the rider?
The subtleties of the posting trot – how to simplify the process of training the rider?
It is very interesting to teach riders to ease under the correct diagonal and “see” it from the side. First of all, how the students react. Some people need a lot of information, while others have problems when they get too much information at the beginning. That is why I teach this knowledge in its simplest form first, adding more information as I go along.
The simplest form of information we convey to riders is that the posting trot has two beats; under one we get up, under the second we sit down.
Up-down, up-down
Any instructor who teaches the posting trot to beginners must have repeated this phrase “Up-down, up-down…” millions of times. Admit it, you did it too. At first, when we chant this “mantra” of ours, we see the rider flying high from the saddle as he stands up, thumps the saddle, stands still, or sits too long, but the more you set the rhythm with your up and down voice commands, the more the closer your beginner gets to the moment when he will finally feel and get into the rhythm. Suddenly, he succeeds, and we shout to him: “Yes! Correctly! Well done! Up-down, up-down!”
Acquiring the skill to lighten at the trot is a big step in the life of a beginner rider. Whole stage!
I always give my rider time to consolidate his progress before moving on with the trot. He will hear about the diagonals of the trot later, perhaps we will do without them for a few more lessons. I’m waiting for the rider to start to ease into the trot automatically., will forget about my up-down prompts. The rider should have a feeling and develop muscle memory.
Rise – fall? Not!
I always immediately pay attention to how the rider returns to the saddle. It should not break off and fall down. We gently sit in the saddle. And we sit down, not falling back, but sinking down. This is extremely important – so we do not lag behind the movement of the horse and, most importantly, do not cripple his back.
I love visualization
When my student is at a relaxed posting trot, leading the horse, talking and answering my questions, etc., it means that he is ready to learn diagonals. It is very good if you have a “sample” rider or there is a group lesson. I like the phrase: “An image is worth a thousand words” (it justified itself hundreds of times!) The horse of my “sample” rider has multi-colored bandages on his legs, for example, as in the photo below – red on the right diagonal pair, white on the left.
If I have a group lesson, then all the horses will be bandaged in the same way. Of course, you can use two different colors on each horse during a group session, but it is better if all horses have a red and white combination. Remember that when you use visualization in your training, you are helping your students to better understand what you are teaching them.
I ask my “example” to trot, and I ask the student which two legs of his horse move together. Once the student can identify the diagonal pairs, I explain, “This is why the trot is a two-beat gait. 4 legs, 2 pairs = 2 beats. I leave the further theory of the trot for another day. Be aware that too much information and detail can confuse the student when trying to understand the basic concepts of riding.
While the “sample” is trotting, I ask the student to speak out loud “up and down” in his rhythm. I ask the “sample” to ease under the right diagonal and say to the student: “Do you see that our “sample” is sitting in the saddle whenever the legs in red bandages are on the ground”? It usually doesn’t take long for the student to see it.
Then I ask the “sample” to change diagonals, and the student to name the diagonal under which he is relieved. Now I can see for sure if my student really sees the diagonals. Then I ask the “sample” to ride under the diagonal that the student distinguishes better (usually it turns out to be the inner one). I ask the student to look at the horse’s shoulder and note for him that the rider is sitting in the saddle when the shoulder goes back.
As soon as my student sees the movement of the shoulder, I let the “example” rest and ask the student to trot along the arena. His task is to determine which shoulder goes back when he sits in the saddle. I jokingly tell him that this is the first and last lesson where I don’t scold him for looking down at the horse’s shoulders.
Simple explanations
I omit information about the “correct, incorrect” diagonal, leaving it for the time when the student can easily determine the diagonal. After that, I will tell him about tournaments and traditions, explain that the horse pushes the rider with his hind leg, and we need to train his hind legs evenly. But for now, we’re sticking with “left, right” or “red, white” for students who have difficulty quickly identifying their right and left hands.
After the rider learns to determine the diagonal, we begin to add variety to the work.
I name the number of steps that the rider will need to sit in the saddle before starting to lighten up again. We discuss how to move from one diagonal to another, and also that if you sit an even number of steps, the rider will return to the same diagonal that he rode before, and if it is odd, the rider will change the diagonal. I teach riders that they can stand or sit for one beat to change the diagonal. Pretty soon my student becomes a pro on the diagonals.
I use this diagonal teaching method when I teach both adults and children. Usually, after the rider begins to control the mechanics, he is ready to find out why the diagonals are needed. That’s when I talk about diagonal pairs, about the same training of the hind legs, etc. At the same time, I start getting my rider to think about the horse’s hind legs pushing him out of the saddle, developing awareness of the horse’s “motor”.
If you load the student with theory from the very beginning, an adult rider can turn learning diagonals into a complex puzzle, mentally not allowing himself to move. I prefer to keep training simple, because the main thing is not to show my students how much I know about the lynx, but to instill in them the necessary skills and bring them to automatism. It’s about making things simple and giving the student the opportunity to understand what it’s about and put it into practice.
If the rider is “stuck”
But what to do with a student who is “stuck” and needs help, who does not see the diagonal? Do I surprise you if I say that this problem is more common in adults than in children?
Videos are a great learning tool, so I went to Youtube to find a video that showed a good example of diagonals clearly and clearly. I was a little surprised that it was not so easy. Even more surprised, I discovered that one woman, sitting on a chair, casually explained the trot theory in an interview format, while the horse never appeared in the frame at all. After an hour of searching, I came up with two videos that at least show horses with good strides and riders who ride the correct diagonal. The first one is very short, but the diagonals are visible very well:
Students can watch the video over and over again to visualize. The second video is a trot lesson, and I suggest you turn off the volume so as not to be distracted by the text, but to hone your vision:
Remind your student that he will need to use his “soft” gaze and peripheral vision to see both the horse’s step and the rider’s movements.
I am a firm believer that confidence is built when we speak out, so when you watch videos (or even watch riders live), you should say “up and down” loudly and clearly in rhythm with the movement of the rider. Keep saying “up and down” until you get to the point where you can only see the diagonal from the “down” position. Once this rhythm is in your head, start looking at the horse’s front legs or one diagonal pair to determine which leg is moving with the rider.
Think about the wheel
Now we need to think about something else. The horse’s front leg doesn’t actually go up and down like a piston. She makes a much more complex movement. Think of the front foot as if it were following the path of a wheel. Half a turn on the ground, the other half in the air. The front foot actually hits the ground in front of the horse when its foot is brought forward and stays on the ground until it is behind – under the horse. Because the trot is a two-beat gait (up and down for the purposes of my explanation), a posting trot rider will lower into the saddle and sit while one or the other of the horse’s front foot is on the ground and then under the horse’s body. (Technically, if the horse isn’t pushing forward, his body goes over the leg, but to simplify, you can think of the leg going back under the body.) Try to keep this picture in mind as you watch the video. Look at both front legs as you say “down-down-down” to the rhythm of the rider’s relief. Soon your eye will pick up the connection.
Help
If you have the opportunity to work with riders, start watching those who ride large horses with wide strides before moving on to ponies and small horses. Long strides will give you more time and you will be able to see the relationship between the rider and the diagonal. So it will be much easier for you.
Ask one of your friends to be your test rider. Let him say “down” every time he mounts, while you look at the front legs of the horse or at the diagonal pair.
Have someone videotape you as you trot. Say “down – down – down” in the rhythm of a trot. Try to speak loudly so that your voice can be heard on the recording. Watch and study this video at home.
Once you can determine which foot a rider is lightening under, you can easily tell if he is riding the right diagonal or not. The traditional diagonal when moving to the right is left (we lighten under the right hind leg), when moving to the left – right (we lighten under the left hind leg).
Good luck with your learning!
Barbara Allyn Fox (source); translation by Valeria Smirnova.


