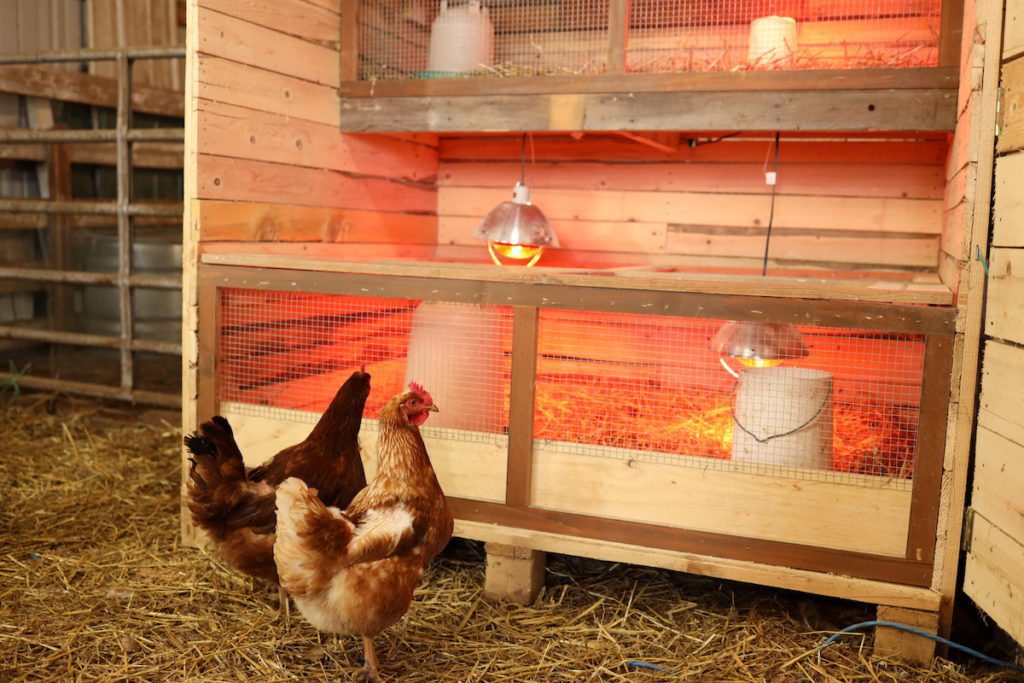
How to make a brooder for chickens with your own hands: manufacturing technology
Those who decide to purchase day old chicks are concerned about the problem of their further maintenance, because in the first month of life they often die. Chicks need close attention, warmth, care and attention, they need to regularly change the litter, keep the drinker clean, etc. This whole courtship process makes it much easier to create a do-it-yourself brooder for chickens.
Contents
What is a brooder
Brooder is a design, for example, box or cagedesigned to replace the chickens with their mother in the first days of life. The brooder should be equipped with a heater so that the chicks grow at a comfortable temperature.
If finances allow, this design can be purchased, its cost is 6000 rubles. For him, they buy feeders, drinkers and other devices, as a result of which the cost of a brooder can increase to 10000 rubles.
But are such expenses necessary? Poultry experts say no. You can make a brooder yourself from improvised means, and it is not very difficult. In this case, finances will be spent to a minimum. To make a do-it-yourself brooder for chickens, you will need tools, the ability to work with a hammer and a hand saw, as well as the right material.
Required Tools
For the manufacture of a brooder for chickens, pShe will need the following tools:
- hand saw or electric jigsaw;
- a hammer;
- pliers;
- roulette;
- screwdriver;
- pencil.
You may also need far fewer tools.
Material used
Determining what material is needed is quite difficult. The design can be made from anything. If it’s made from scratch, it is better to take wooden blocks, multilayer cardboard or QSB boards. Improvised tools can be a wooden box, an old nightstand, a wooden barrel, and even a large plastic container. Many instead of a brooder, keep chickens on the floor of the corridor or kitchen, enclosing them with a partition.
There are a lot of ways to make a brooder for chickens. You can even come up with a design yourself using improvised materials. The main thing is that the chickens in it should be comfortable, dry and warm.
How to make a brooder with your own hands
The design in this case will be made of fiberboard and wooden beams 30×20 mm in size. The result is a box 100 cm long, 35 cm deep and 45 cm high.
The pallet required to collect the litter is bent from galvanized steel. Since a piece of galvanized steel is used, to increase the area in the front, it is better not to bend, but to use a 50×20 mm rail as a side.
Making the floor and feeder brooder
Two nets should be laid at the bottom. The first with a more rigid cell, a nylon mesh is placed on top of it. It can be a construction mesh for plaster, only you have to feel itso that it does not fall apart into fibers. After a few days, the nylon mesh should be removed, as litter will clog in it.
It is better to make a do-it-yourself feeder of a bunker type, bending from galvanized scraps. The advantages of this type of feeder are:
- you have to disturb the chicks less, because the food is poured outside the brooder;
- you can fill in enough feed at a time and not worry that the chickens will be hungry.
A hole should be cut in the front side of the structure for the possibility of installing a feeder. Its length depends on the number of birds. To fix the feeder, use two metal plates, if you move which, you can easily install or pull out the feeder.
Drinking bowl and heating of a brooder for chickens
From vacuum drinkers and any plates it is better refuse for the following reasons:
- they can be a source of infection and have to be washed frequently;
- chicks can drown in them.
It is best to use nipple drinkers with drip catchers as they are the safest for chicks. Drip eliminators are used to ensure that there is no dampness in the pan.
Heating is vital for day old chicks, as their health depends on it. You can heat the brooder with your own hands with an ordinary accumulation lamp, an infrared lamp or an infrared heating film attached to the wall of the structure.
Make your own heating as follows: a piece of cable, a plug and a cartridge are taken. One end of the cable should be connected to the cartridge, and the other to the plug. Then the cartridge is attached to the ceiling of the structure. The length of the cable depends on the distance between the brooder and the outlet.
DIY brooder doors
As a do-it-yourself brooder door for chickens, you can use plastic wrap, which should be attached to the top bar. When the chickens grow up a little, the film is replaced with a plastic or metal mesh. To prevent the chicks from running away, the film must be attached at the bottom with carnations.
Thus, a do-it-yourself brooder for chickens is ready. Before planting chickens in a do-it-yourself design, adjust the power of the lamp. To do this, you will have to experiment a little with a thermometer and lamps of different wattages. For convenience, you can install a power regulator, however, this will have to be spent a little.


