How to create an artificial current in an aquarium?
The number of river fish species represented in the aquarium hobby is very large. River systems have different conditions and flow rates, which must be taken into account when arranging an aquarium. For many species, the movement of water is a prerequisite for successful maintenance, and some need fairly strong flows, similar to a turbulent mountain stream.
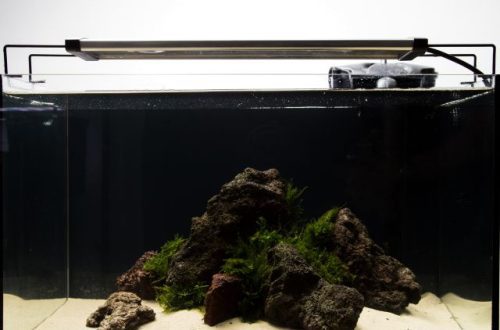
It should be borne in mind that the creation of an artificial turbulent stream or just a strong / moderate current implies not only the installation of special equipment, but also the design of the aquarium accordingly. Usually, rocky soil with several large boulders, snags, branches and other fragments of a tree, securely fixed in the substrate, are used. The vegetation cover is formed from unpretentious plants with a strong root system or mosses that can grow directly on stones or wood. Before buying plants, be sure to read their description, not all species are able to successfully grow in strong currents.
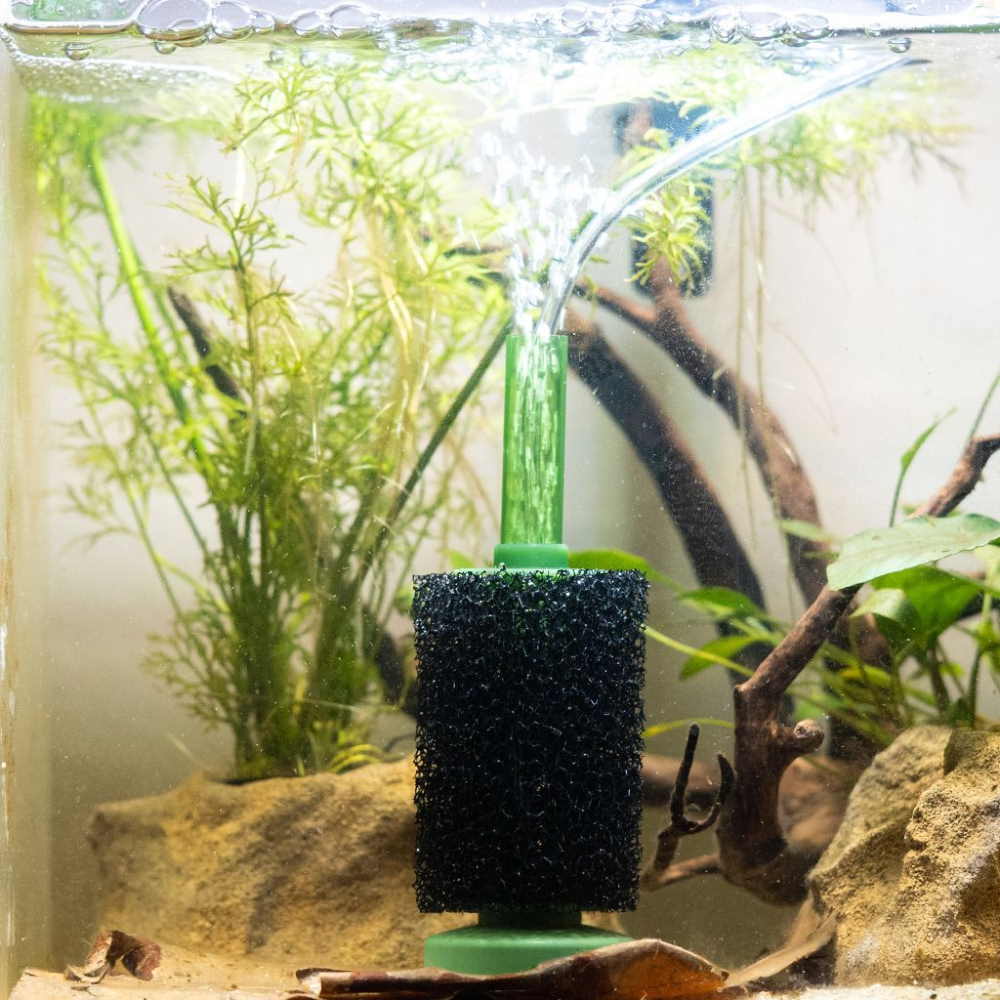
Aquarists often rely on a filtration system to create internal flow. Indeed, many internal filters create a semblance of water movement, but in most cases it will not be possible to create powerful flows with their help. It is worth giving preference to special collectors / pumps for injecting water or making the device yourself, which is what we will talk about.
Contents
Creating an artificial flow system in an aquarium with your own hands
The water recirculation system in the aquarium is quite simple to manufacture and does not require large material costs. It is a combination of hollow tubes and a pair of pumps, which are usually used in cup filters.
We need:
- 1. Hollow plastic tubes about 2 cm in diameter (can be found at any plumbing store);
- 2. Four bends for tubes;
- 3. Six tees for tubes;
- 4. Two “plugs” for tubes;
- 5. Two or more suction cups (optional)
- 6. Tools – hacksaw, drill with a drill, tape measure;
- 7. Silicone sealant for an aquarium (only a special sealant is allowed, simple building materials emit substances harmful to fish).
Stage number 1. Cut the tubes of the desired length
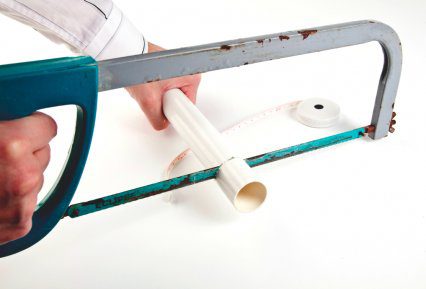
Measure your tank length. Cut three tubes with a hacksaw to match the size of the tees so that the length of each tube is less than the length of the aquarium by about 5-6 cm. Prepare several small short tubes for attaching the bends and tees to each other.
Stage number 2. Checking the dimensions
Place the resulting elements on the bottom of the tank, if necessary, cut or replace the tubes with longer ones, if you did not guess with the size.
Stage number 3. Connecting elements
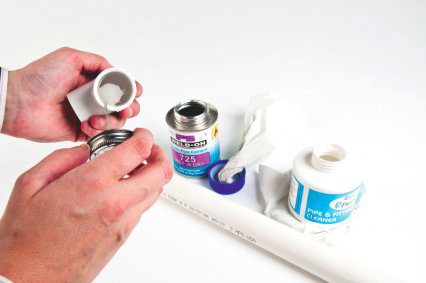
Before connecting all the elements together, you should clean the edges of the tubes from possible burrs and sawdust that occur when working with a hacksaw. If this is neglected, then in the future they can get into the pump and damage it. Using silicone sealant, connect all the fragments (tubes, bends, tees) into a single structure.
Stage number 4. Preparation of vertical tubes
Cut two tubes about 1/3 the height of the aquarium. Use a drill to make holes in them. Close one end of each tube with a “plug”, and fix the other end in the free hole of the tees located on one side of the structure.
Cut two more tubes, the length is selected taking into account the pumps. Pump outlets should be approximately level with the top of the opposite orifice tubes. Using sealant, connect each pump in turn to the tube and the tube to the remaining free holes of the tees located on the other side of the structure.
Stage number 5. Installation
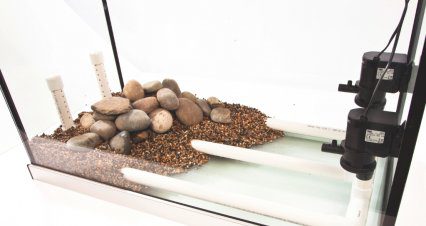
Place the resulting structure on the bottom of the tank, if desired, secure with suction cups or silicone sealant. Fixation with soil is allowed if it is poured over the tubes in a sufficient layer.
This design provides a uniform flow and significantly reduces turbulence, unlike the use of conventional collectors or pumps, since the energy of the water is not extinguished by obstacles, but is returned back to the system through tubes with holes.


