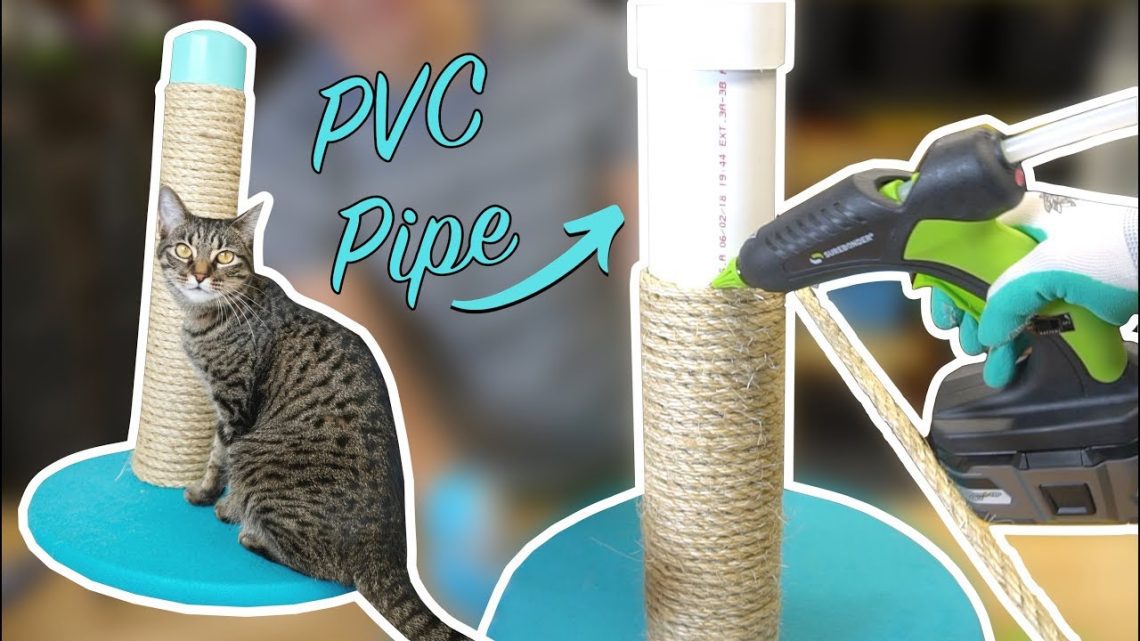
Do-it-yourself cat scratching post
Your energetic cat isn’t clawing up the couch just to annoy you. Cats need a device with which they can satisfy their need to scratch, and you don’t have to spend a lot of money on a commercial device that meets these goals. You can easily make a homemade scratching post using what you have on hand.
Most pet owners will learn first hand how much their cat needs to relieve the genetic itch. And if you give her free rein, she will tear your curtains, carpet or even a sofa to shreds for this. Here are five ideas on how to make a scratching post with simple and inexpensive materials.
Contents
1. A scratching post made from a book
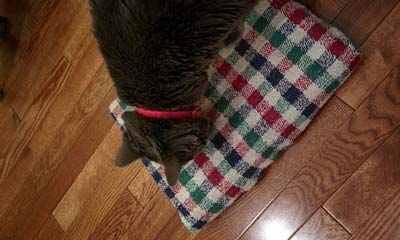 A cat scratches for several reasons: to wear off the top layer of claws (which you can find all over the house), to stretch after sleep, and to leave a scent mark to remind you who is really in charge in the house. Regardless of all that, you can pamper her with just two basic items and your sewing skills.
You will need:
- Large hardcover book the size of a coffee table
- Large cotton bath towel
- Very strong thread
- sewing needle
If you don’t have an old hardcover book that your cat could dig its claws into, you can find one at a second-hand store. For example, atlases of the world have a perfectly smooth cover, but any book with a hard cover will do. When choosing a towel to wrap it in, give preference to a fabric that does not stick out a lot of threads, otherwise your pet’s claws will constantly cling to them.
 How to do it
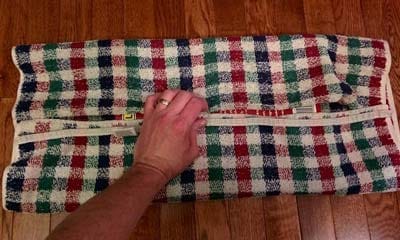
Fold the towel in half for a thicker layer of material. Lay it on the floor, then place the book in the middle. Wrap the towel around the book like you’re wrapping a gift. Stretch the towel well so that there are no wrinkles on the front side – you want a flat, scratch-resistant surface. Sew up the seams at the junctions on the reverse side, turn it over and voila – the scratching post from the book is ready.
It is better to put it on the floor, and not lean it against any surface: due to the large weight, the book may fall and scare the cat.
2. Breathtaking scratching post from the rug
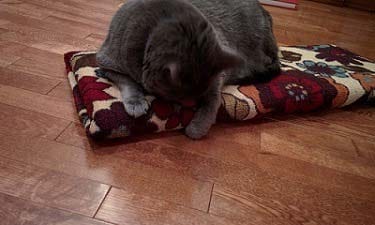 As an alternative to a book scratching post, you can make one from a rug (no books will be harmed in the making of this scratching post).
What you need
- Flat board (waste wood or a former bookshelf will do)
- Small rug or rug
- Hammer
- Small standard sized wallpaper nails (you can buy a package at any hardware store, it’s inexpensive)
The scratching post can be any length or width, so you can choose the size that suits your cat’s needs. The scratching post will lie on the floor or hang on the wall, so it doesn’t need a base. When choosing a rug, keep in mind that cats love rough fabric, again with very few loops or protruding threads for their claws to snag. Luckily, finding a durable yet inexpensive scratching post is easy, and you definitely won’t have to hide it when guests arrive.
How to do it
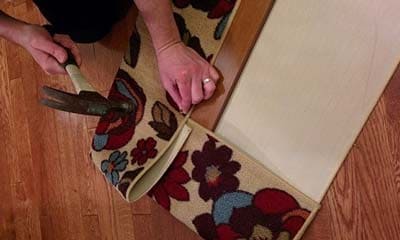 Lay the rug face down on the floor and place the board on the back of the rug. Bend the edge of the rug and fix it with wallpaper nails. To secure the mat well to the surface, drive nails along the edge of the mat along the entire length where the mat meets the board. Repeat the same manipulations with the remaining three sides. Do not drive nails in places where the rug is more than double folded, as a wallpaper nail will not hold more than two layers of material. After cutting off excess material, use longer nails to secure the rug. Another option is to leave the rug folds as they are: when the board rests on the floor, they create a nice springy effect. Flip the rug right side up.
3. Scratching post from a stack of cardboard
If making your perfect scratching post should take no more than ten minutes, then this method is for you.
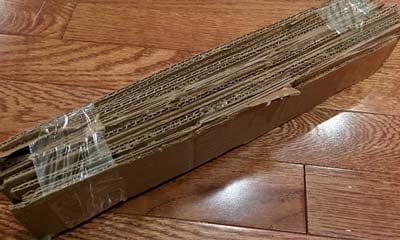
What you need
- Cardboard box of any size and shape
- Tape of any color
- Stationery knife
With this material, you don’t have to worry about cutting the edges perfectly even. You will get more surface to scratch if it is a bit rough.
How to do it
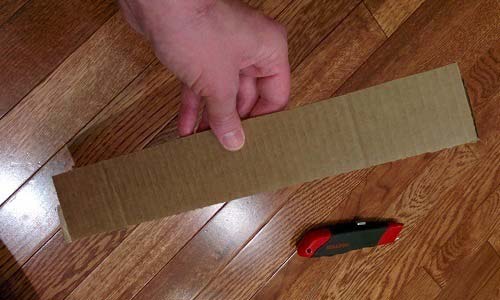 Lay the box out on the floor. Using a utility knife, cut off the four sides of the box so that you have four sheets of cardboard. Cut each sheet into strips 5 centimeters wide and 40 to 80 centimeters long. In principle, the length can be any, so let your imagination run wild. Stack the strips on top of each other so that the rough, cut edges form a flat surface. Tape the strips tightly around each end to secure them. Put them on the floor and let your cat enjoy the process!
Another benefit is that you don’t have to use the entire box, so even if you stop at two sheets of cardboard, you’ll still end up with a great DIY scratching post toy.
4. Hidden scratching post made from a bookshelf
If you need a scratching post but don’t have the space for it, check out this option, which combines two things that kittens love: the ability to scratch fabric and an enclosed space.
What you need
- Bottom shelf of bookcase. Make sure the furniture is secured to the wall so it doesn’t fall apart or topple over.
- Carpet material cut to the size of the shelf
- Durable double sided tape
If you want this place to become a permanent home for your kitten, you can use hot glue or wallpaper nails.
How to do it
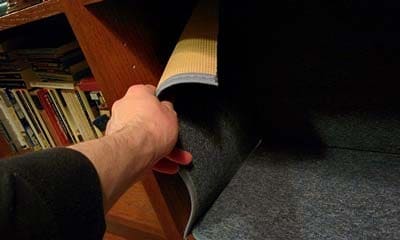
Empty your bookshelf completely. Measure all pieces of carpet and make sure they fit the sides of the shelf (top, bottom, back and two sides). Secure the carpet pieces with nails, hot glue, or similar adhesive. Also consider lining the outside of the shelf to a height that your furry pet can reach when sipping. He’s sure to love the extra surface to stretch on!
5. Rolled scratching post on stair railing (suitable for houses with stairs)

This method takes your homemade cat scratching post to the next level by giving your furry family member the opportunity to try different ways to sharpen their claws while taking their eyes off the carpet on the stairs. This is a win-win situation for both of you.
What you need
- Staircase with balusters (handrails)
- Upholstery fabric, carpet trimmings, or a small area rug
- Furniture stapler and staples or needle with very strong thread
When choosing a fabric, pay attention to one that goes well with your interior, and stock it up so you can replace it when the cat rips this roll. Instead of a stapler, you can use a needle and very strong thread to sew the fabric together. Some cats can easily pull the staples out of the fabric, especially if the fabric is very thick or their nails have not yet been trimmed.
How to do it
First decide how many balusters you are willing to sacrifice for your cat. Two or three should be enough, but she’ll let you know if she wants more. Cut the fabric to size so that it wraps around the balusters without much residue (you’ll need to leave some fabric to overlap it). Staple the ends of the fabric with a stapler or sew them together.
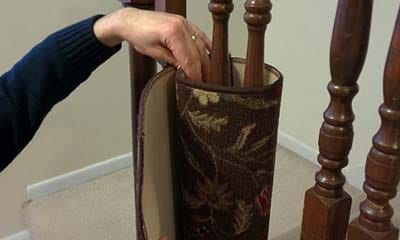
This scratching post option will allow your kitten to enjoy physical activity and refrain from ruining the stair mat.
Now that you have learned how to make a scratching post, your fluffy pet will not keep you waiting long and will be happy with her new thing (most likely, she watched the process of making it). If she’s still hesitant to try it out, spray some catnip on the scratching post to get your cat’s attention. Did not work? Leave to another room.
Cats usually don’t like being watched while learning contraptions.
Regardless of which homemade scratching post you choose, you will feel like you are doing something cool and creative for your cat. And you can really do it yourself by choosing materials to suit your own sense of style. Enjoy the creative process!
Photos courtesy of Christine O’Brien


